Opening assessment
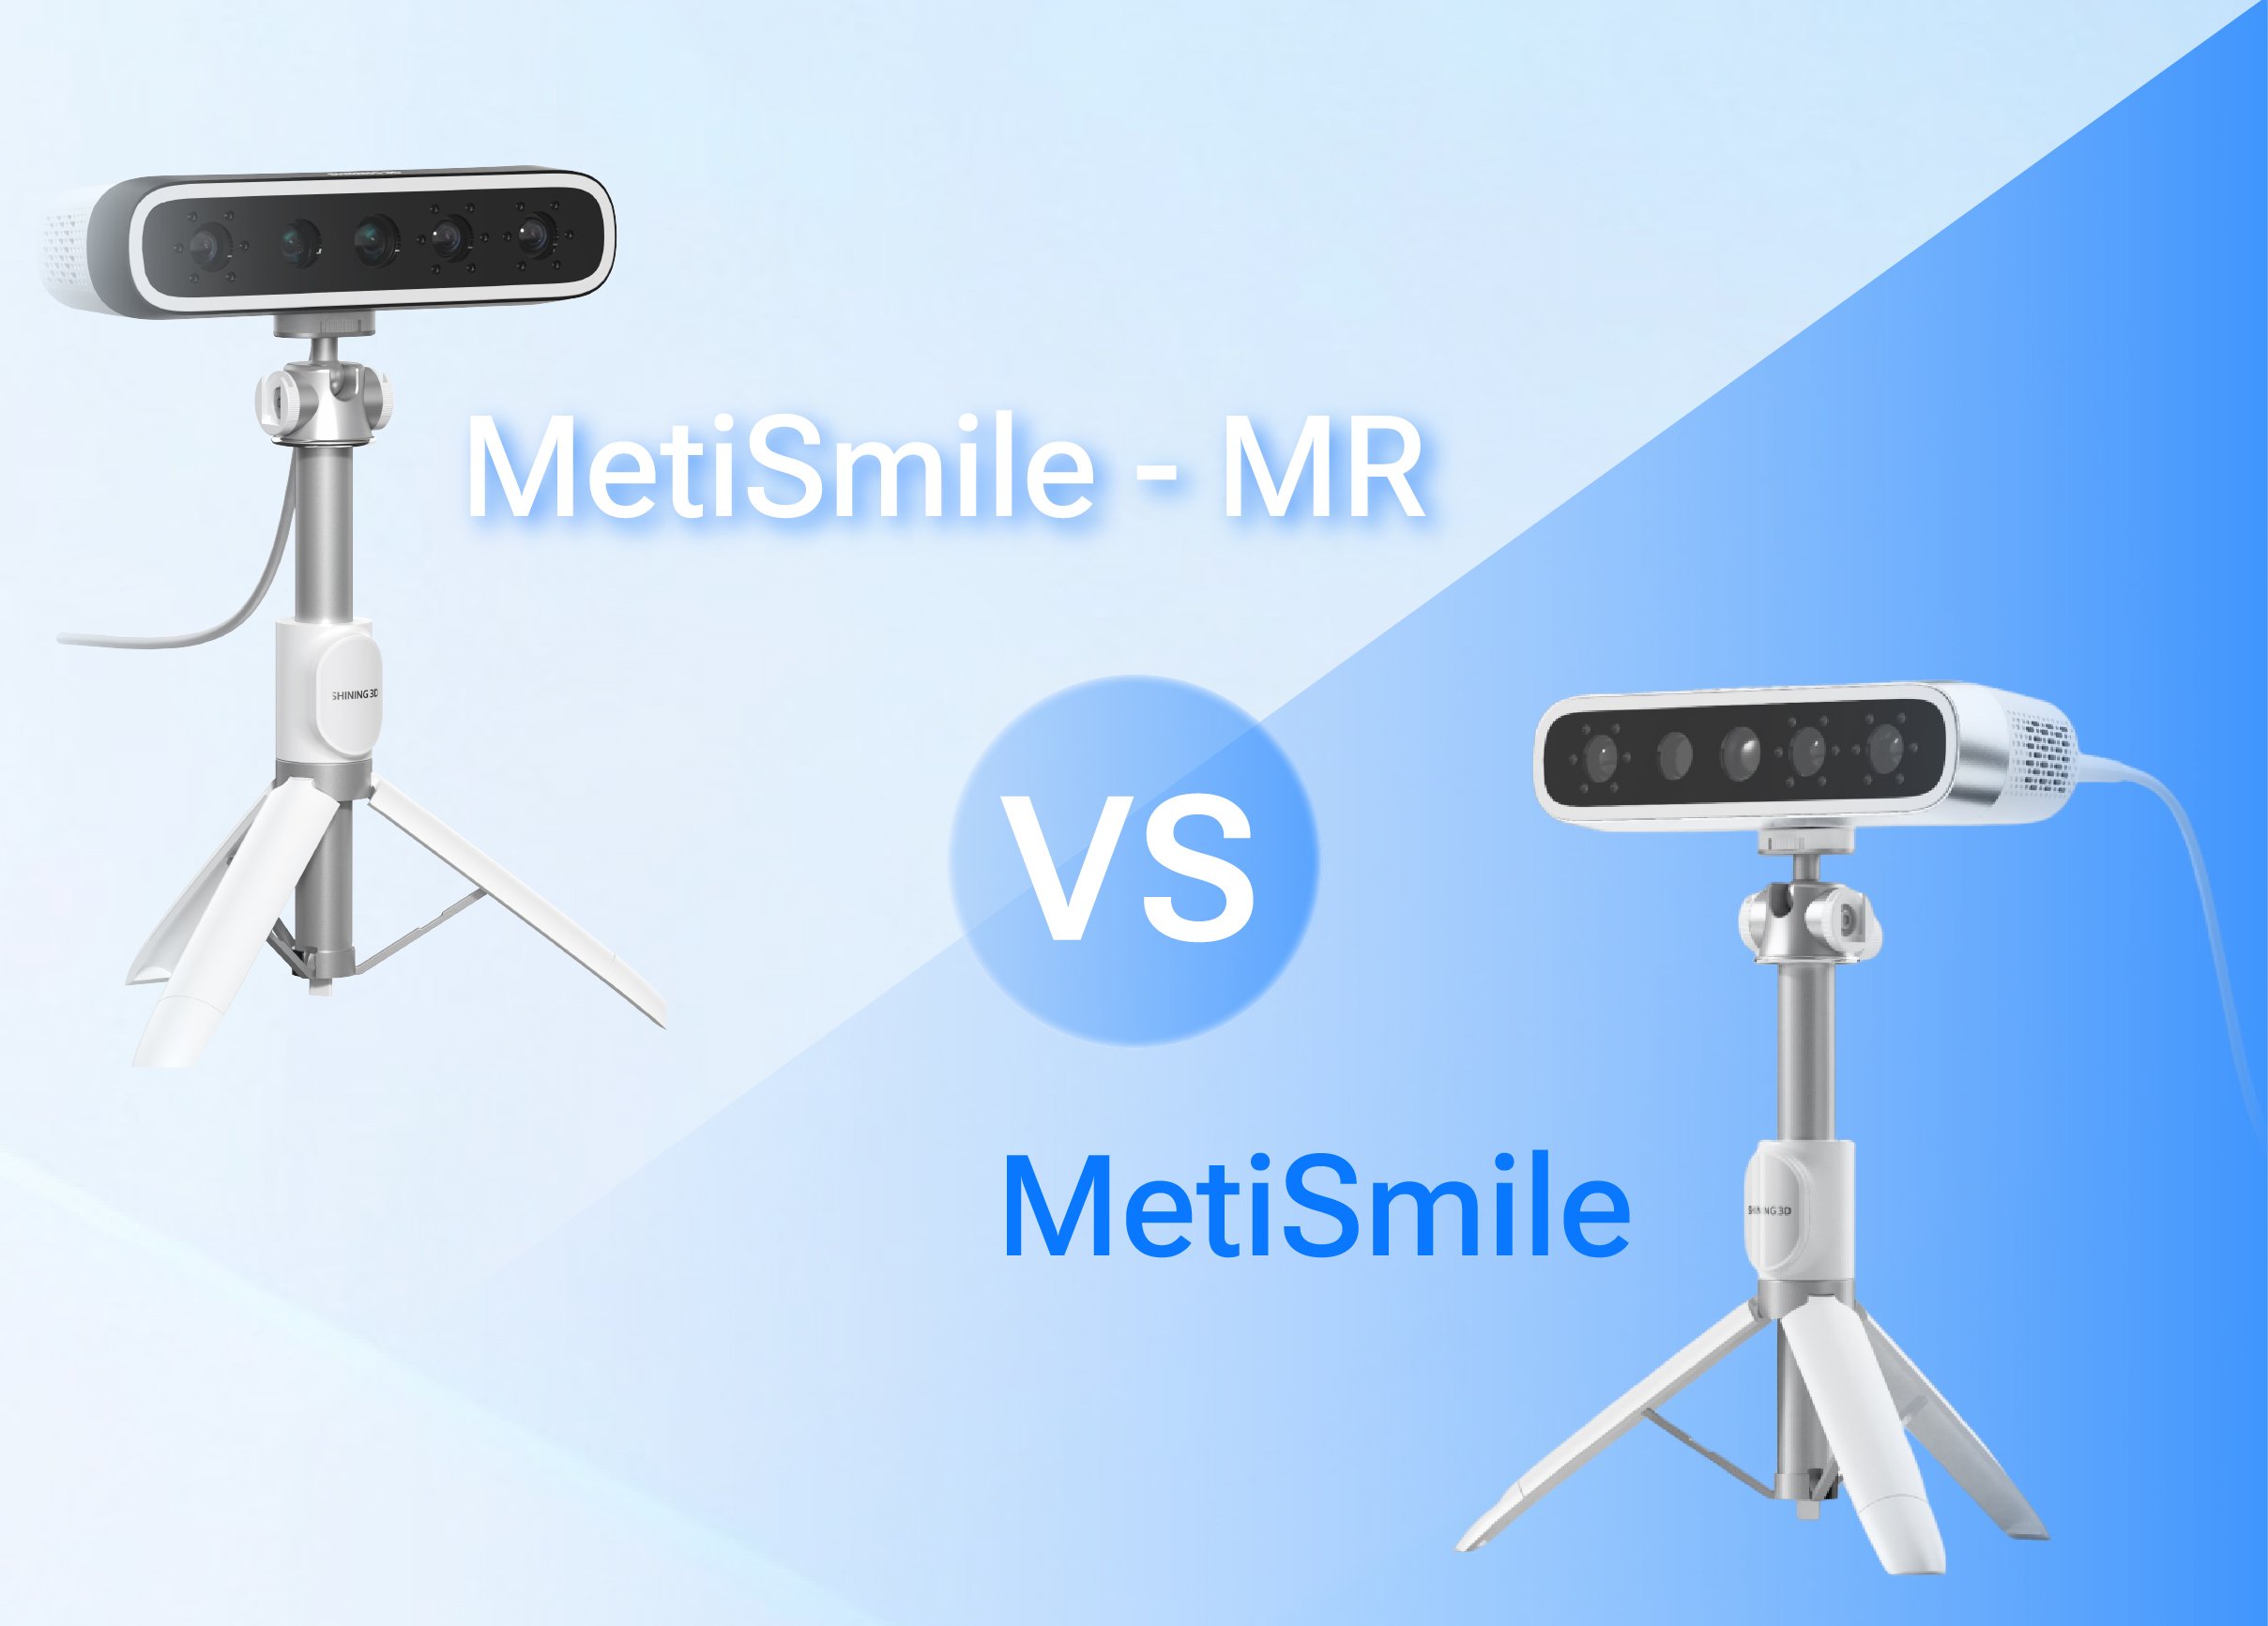
Clinics choosing facial capture must weigh speed, accuracy, and workflow fit; a modern option is the 3d face scanner, which changes how technicians align facial data with intraoral models. Comparative thinking helps: don’t buy on specs alone. Look at how the device fits your lab software, how staff training will proceed, and whether the file formats match your CAD/CAM chain.
Accuracy versus practicality
MetiSmile-style face capture delivers strong surface detail for esthetic planning, but accuracy claims vary by capture method. Structured-light face scanners typically provide repeatable landmarks; photogrammetry can offer higher resolution but demands controlled environments. Choose accuracy levels that serve the clinical question: cosmetic mock-ups need high-fidelity color and texture, surgical guides demand precise landmark coordinates. Measure trade-offs: capture time, patient comfort, and how easily scans register to intraoral STL files.
Software and workflow compatibility
Integration matters more than raw hardware specs. Check native export options (OBJ, PLY, STL) and whether your current CAD system supports facial meshes or requires middleware. Expect routine tasks: mesh cleanup, landmark annotation, and registration to intraoral scans. If your software lacks direct import, plan for consistent file-naming and version control so technicians avoid mismatched datasets. Small mismatches in coordinate systems cause the most wasted time.
Common implementation mistakes
Clinics stumble on a few predictable errors: relying on default lighting for every patient, skipping calibration checks before sessions, and underestimating staff practice time. Avoid treating capture like a one-off; make a short training protocol and require two practice scans per operator weekly until quality is consistent. Also, don’t ignore patient positioning aids — they reduce motion blur and registration error more than software post-processing can fix.
Alternatives and when to pick them
If your priority is fast chairside work with intraoral detail, an intraoral scanner wins. For full-head esthetic planning where soft-tissue texture is critical, a dedicated face scanner performs better. Photogrammetry works for highly detailed color reproduction but is slower to process. Compare acquisition time, required operator skill, and downstream processing load before deciding. Mixing tools is common: use an intraoral scanner for dentition and a face scanner for soft-tissue context, then register both in your CAD environment.
Implementation checklist for clinics
Set clear acceptance criteria before purchase: target registration error (mm), acceptable capture time, file formats, and training hours. Prepare a pilot: run five consecutive patient cases, document registration discrepancies, and adjust your protocol. Ensure backup procedures for software updates so minor version changes don’t break exports. Assign one staff member as the system owner to maintain calibration logs and manage software licenses.
Real-world anchor and professional perspective
From work with restorative teams in Istanbul and repeated evaluations at regional dental meetings, I’ve seen how a focused rollout shortens the learning curve; clinics that test the device on routine cases avoid surprises during complex planning. For clinics exploring this route, consider metismile as a face-capture option that often enters pilot programs where facial-context is essential.
Final synthesis
Compare needs, not labels: select the capture method that matches your clinical questions, validate integration with small pilots, and train consistently to avoid common mistakes. When facial context must align reliably with intraoral models, a dedicated system that fits your software and processes provides clear benefits, and that practical fit is the value SHINING 3D DENTAL brings to clinical workflows: SHINING 3D DENTAL.